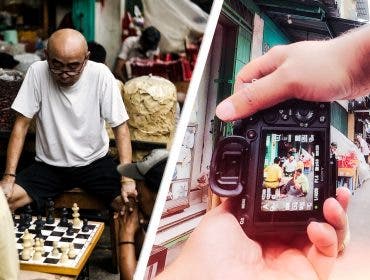
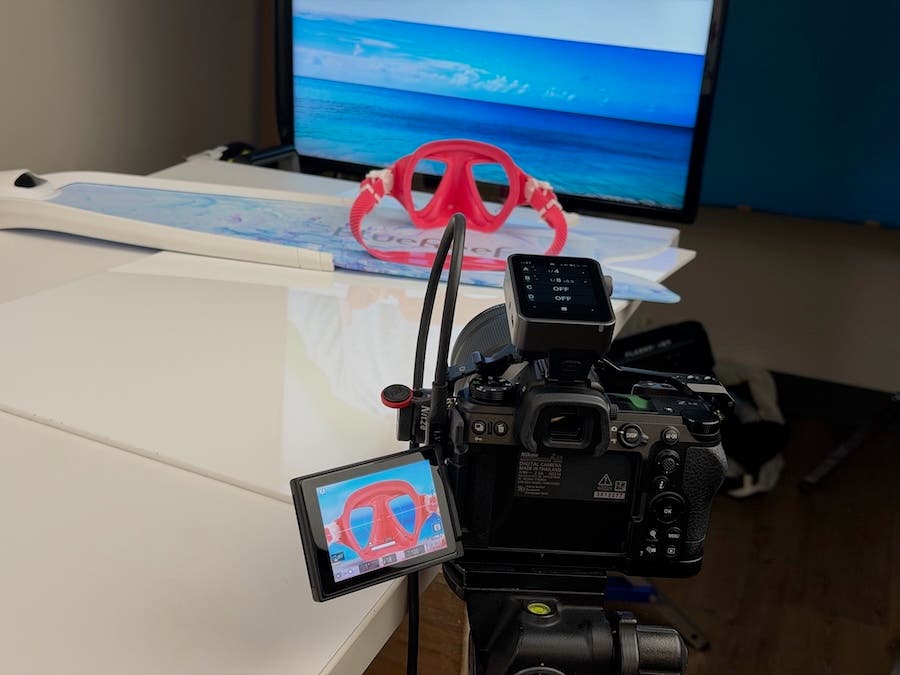
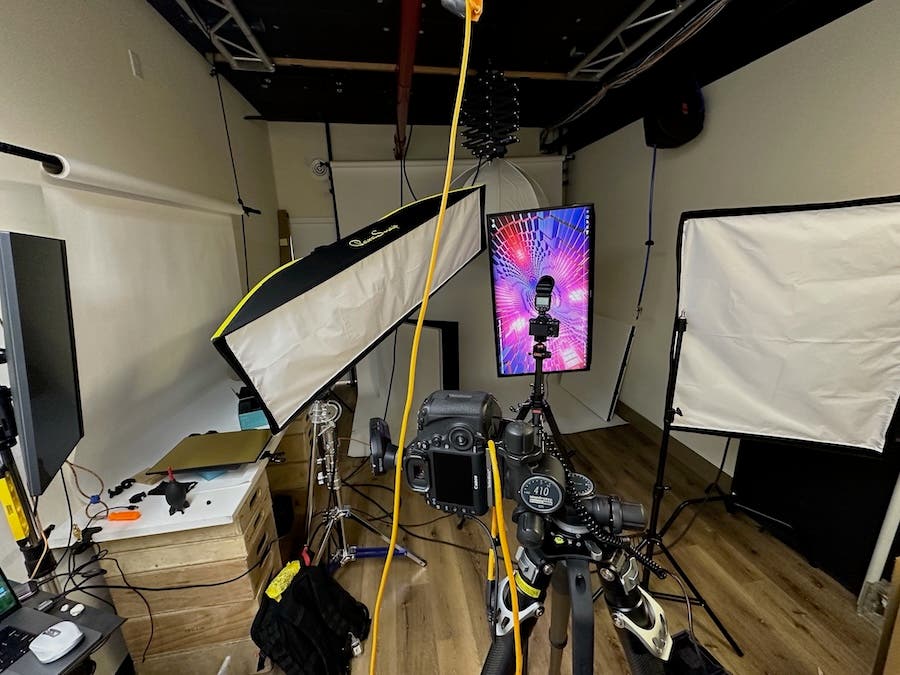
Inside a small, windowless room, Josipth “G” Gaviria is making a scuba mask float. No, he’s not a magician, but he does have a knack for making inanimate objects come to life. His studio, tucked away on the third floor of Adorama’s NYC flagship store, is where he spends his days experimenting and tinkering. His work environment, which he refers to as “clean chaos,” is a space filled with softboxes, strobes, modifiers, and plastic support pieces he designs and 3D prints at home. These small pieces, strewn about the space, are just the right size to hold the products he photographs. On this day, his focus is on capturing clean, seamless product photography and unboxing shots. But whenever he gets a chance to be more creative, he takes it.
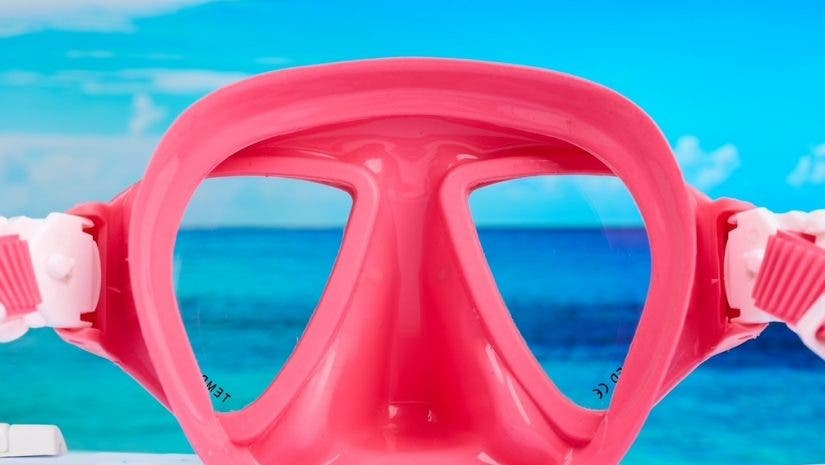
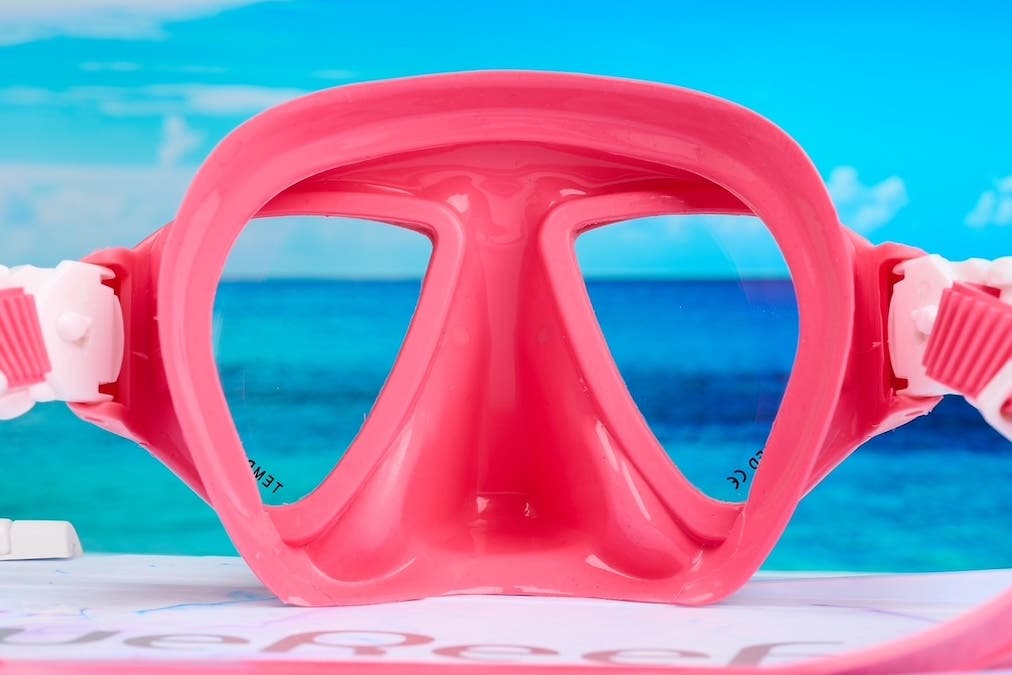
As my gaze scans the products waiting for their close-up, I notice a lavender-colored scuba mask suspended on a nearly invisible string. “It’s there to give the mask buoyancy and shape,” Gaviria explains. The result is an image that feels clean, dimensional, and ready for e-commerce. Minutes later, when it’s passed to the next department, the string will be edited out, but the illusion will remain.
Day in the Life
Before Adorama, Gaviria honed his speed and adaptability in product photography by shooting at scale in a high-volume e-commerce warehouse, capturing everything from high-end handbags to satellite dishes, sometimes hundreds of items a day. That pace trained his instincts and reinforced a core principle he still uses today: eliminate the noise. “In my current job,” he explains, “the volume varies, but the mission remains the same: to tell the product’s story as clearly and efficiently as possible.” In that vein, he presses buttons, tests features, and explores the design until the product’s main purpose becomes clear and he can convey that photographically.
Daily Workflow and Organization
Now, after more than a decade with Adorama, Gaviria has built his workflow around problem-solving and instinct. Each morning, before doing anything else, he checks the project management program Jira to see which products are in his queue, along with shoot schedules and deadlines. Next, he reviews the list, notes any urgent projects, and then organizes his equipment and studio setup for the day’s work. This series of steps gives him a clear list of what needs to be shot and when. Throughout the day, he adapts to the volume, sometimes working with a single, complex product and other times handling 10 or more items with variations.
Shooting Strategy and Consistency
“I ask myself what a customer wants to know about the product, and then I try to make it come to life on the screen. Assignments move steadily from studio to Adorama’s product pages, blog, and YouTube channel,” he tells me.
The shoot of kids’ scuba masks that I was privy to on this day required photographing six color variations, each with identical angles and consistency across the set. Larger items, like light stands, present different challenges, especially when it comes to controlling reflections and maintaining a clean, distraction-free look. “The goal is always to create crisp, seamless images on minimal backgrounds that maintain consistency across Adorama’s platforms,” he explains. That doesn’t mean Gaviria never uses backgrounds, but when he does, they are done in a way that adds an overall vibe and cohesiveness, not a visual distraction.
Technical Execution
A single product might yield a hero image, then shots of multiple angles and tight macro shots, just enough to answer every potential buyer’s question in a handful of frames. Gaviria often builds these images through focus stacking [a technique that combines multiple exposures at different depths to keep everything in focus], using software like Helicon Focus and Capture One to achieve sharpness from edge to edge. From there, files move to post-production, but the heavy lifting, like lighting, composition, and storytelling, is in Gaviria’s capable hands. Typically, he uses two to five lights, depending on the complexity of the product photography setup.
Product Photography Gear List
His equipment list, in fact, is quite efficient for all he needs to accomplish in a day:
- Cameras: Nikon Z6III, Sony A1
- Lenses: Nikon 105mm f/2.8 Macro, Nikon 24-70mm II f/2.8, Canon TS-E 135f/4L Tilt-Shift, Canon TS-E 90mm 2.8 Tilt-Shift, Canon TS-E 45mm f/2.8 Tilt-Shift
- Lens Adaptors: Sigma MC-11, Megadap ETZ21 Pro
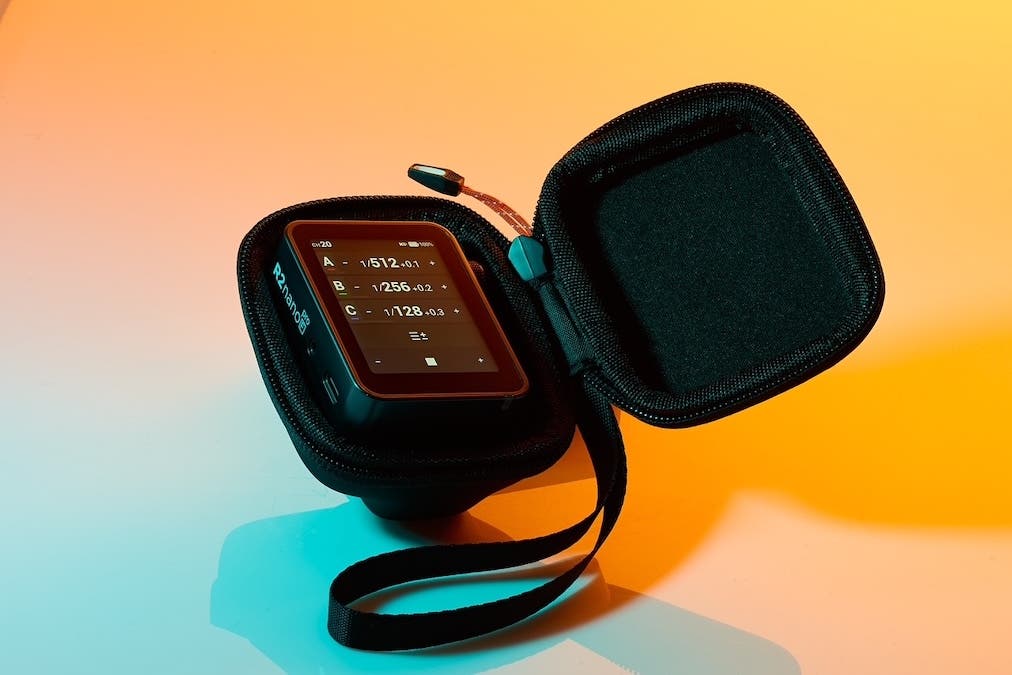
- Lights: Flashpoint XPLOR Power 2400, Flashpoint XPLOR 600 II, XPLOR 200 II
- Tripod/Stands: YC Onion Pineta Peak Tripod & Studio Titan America Side Kick Studio Camera Stand, Flashpoint C-stands, Combo Stands
- Boards: V-FLAT WORLD Tabletop V-Flat Small, V-FLAT WORLD Light Cone
- Consumables: Tack it Puddy, SpiderWire Stealth Translucent Fishing Line, Gaffer Tape
- 3D Printer: Bambu Labs X2D & P2S
Cue the Lights
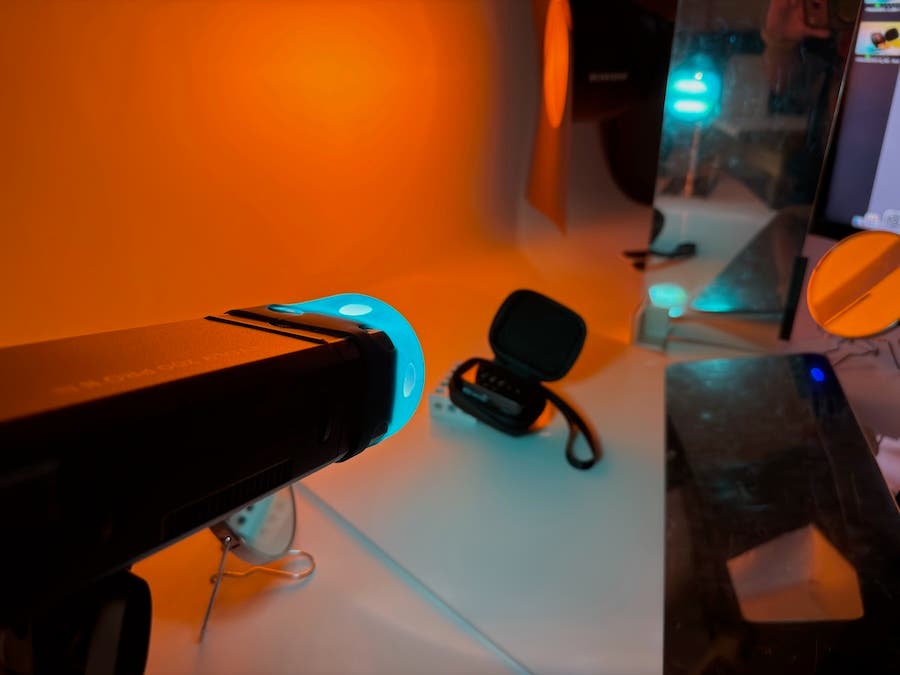
Lighting is where Gaviria’s work comes alive. He is a pro at finding ways to build dimension through his lighting and his tools. His Foam boards and reflectors shape light, flags introduce shadow, and carefully placed highlights define form. “It’s a constant push and pull, refining the balance so the product never falls flat.”
Rather than eliminating reflections, he embraces them. “I like using highlights and shadows to build depth, texture, and dimension,” he says. “You’re always fighting your own lights, but over time, I’ve learned how to make them work for me.” He also says that if you can’t decide between hard and soft light, or between a high-key shoot and something darker and more cinematic, his advice is simple: “Don’t be afraid to mix hard and soft light and experiment with negative fill to add shape and contrast to the product. And remember, hard light brings out texture and hard edges in a product, where soft light allows for diffused shadows and softer edges.”
This philosophy shows up in subtle ways in his finished images: a highlight that emphasizes a product’s finish, a shadow defines its form, and a gradient adds just enough contrast. He loves using materials like Foamboard, background paper scraps, even mirrors, and string or fish line to help him wrangle the light and understand how it behaves. “White surfaces soften highlights; black adds contrast; and gray creates balance. It’s less about expensive gear and more about control,” he states. Which is a slight departure from his early years….
Early Years and Inspiration
Growing up, Gaviria was a young graffiti artist who was heavily influenced by the WildStyle 3D lettering of the 80s and 90s. It was through comic books, B&W photography, and the cinema that he later learned the bold contrast and dimensional shading that drive his work today. Graffiti artists like Cope, Daim, and Seen showed him creative ways to shape and color objects. Photographers like Ansel Adams, Henri Cartier-Bresson, and Daido Moriyama taught him contrast and white space. His childhood comic books and favorite movies taught him camera framing and how to light a scene for a commercial application.
The Nuts and Bolts: Capture to Completion
The process for Gaviria is seamless. After capturing the images, he makes an initial pass to adjust color, exposure, and composition. He then hands the files off to an editor who cleans the backgrounds, removes dust, and edits out any distractions. Lastly, he reviews which elements should stay or go, providing some direction for the editing process. This streamlined workflow is vital in keeping up with the precise demands of e-commerce.
“Consistency is critical, especially when photographing multiple variations of the same product,” he explains. “That is why I build repeatable setups and carefully track each version and rename files to keep everything organized.” The goal, he adds, is to achieve uniformity across the lineup, even fine-tuning lighting and angles to bring out the best in each piece. Reflections, particularly on glass, are controlled but not always removed. Sometimes they’re positioned deliberately to enhance texture or suggest how a product feels in use.”
In the studio, he works mainly with a Nikon Z6 III paired with a 105mm macro lens for detail work and a 24–70mm for versatility, tools that allow him to move seamlessly from tight shots to wider compositions. But as he’s quick to point out, the type of camera you use matters far less than understanding light and interacting with the object in front of you.
The tripods he uses are also vital staples of a successful shoot approach, he says. “My main tripod for smaller objects is the YC Onion Pineta Peak Tripod with a Manfrotto 410 3-Way, Geared Pan-and-Tilt Head. This allows for quick angle and level changes. And the Manfrotto 410 Gear Head aids with precise adjustments. For larger objects or tabletop videos, I use the Studio Titan Side Kick Studio Stand.”
Tips and Tricks
If you’re mulling over a career in product photography or want to update your current portfolio, Gaviria offers up some sound advice: “Shoot everything; don’t wait for a client job to come in. Everyday objects around the house are your friend and could very well be your next photo subject: soda bottles, cleaning sponges, toys… They all have their material characteristics and need to be lit differently.”
He also says it’s important to log notes about why and how you lit the subject, why you chose the camera angle, and what it says about the product. “Note the focal length you used and how it shows off the product, whether it be using a deep, wide-angle distortion or a shallow, cavernous perspective.”
How does one decide whether to use deep focus or shallower focus? “Good question,” says Gaviria. “I personally shoot with a deep focus f/16 or f/18 and then focus stack if needed, as I want to deliver a tack-sharp, edge-to-edge image that gives my editor the most “workable” file possible. It is easier for my editor to add a blur effect in post than it is to fix a soft corner.”
Other advice includes using negative fill to give your product dimensionality or gradients if your product feels flat. “And always start with a single light and then build from there. This way you can track what each light is doing and how it affects the final look.”
Final Thoughts
In the end, his overall approach sounds like a lot of fun, not work at all. “Just tinker. I like to use Play-Doh, Legos, sculpting putty, wood scraps, a 3D printer, strings, magnets…whatever it takes. They all help when rigging up a product for a shoot and making something flat come to life.”
View more of Gaviria’s work on his website, www.josipthg.com.