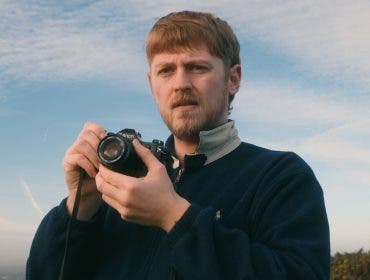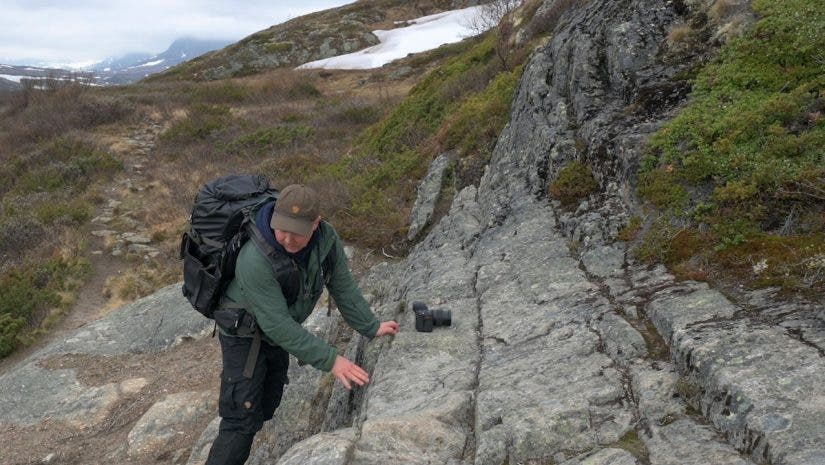
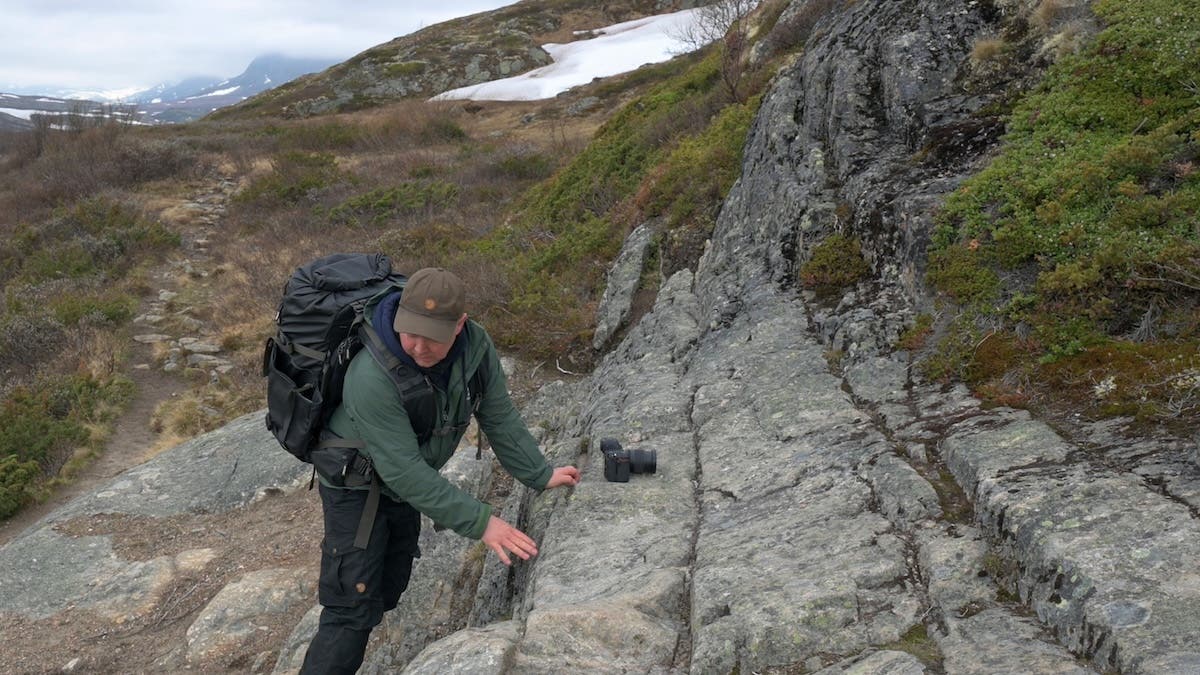
You know those “What’s in my bag?” posts that come up so often on influencers’ feeds? Well, I decided to write one myself because packing for a wildlife photography expedition is much harder than packing your gym bag. It’s harder even than packing for a regular multi-day trek. A professional nature photographer needs a broad range of gear, efficiently organized so everything is within reach. Nevertheless, they are also just regular human beings who can only do so much. Or at least, I am.
Read along to find out how I pack for a photography expedition, what hacks I use to save weight, and the off-grid wildlife workflow I rely on when going to a remote location, such as the Norwegian mountains, to photograph wildlife.
Preliminary Packing Preparations
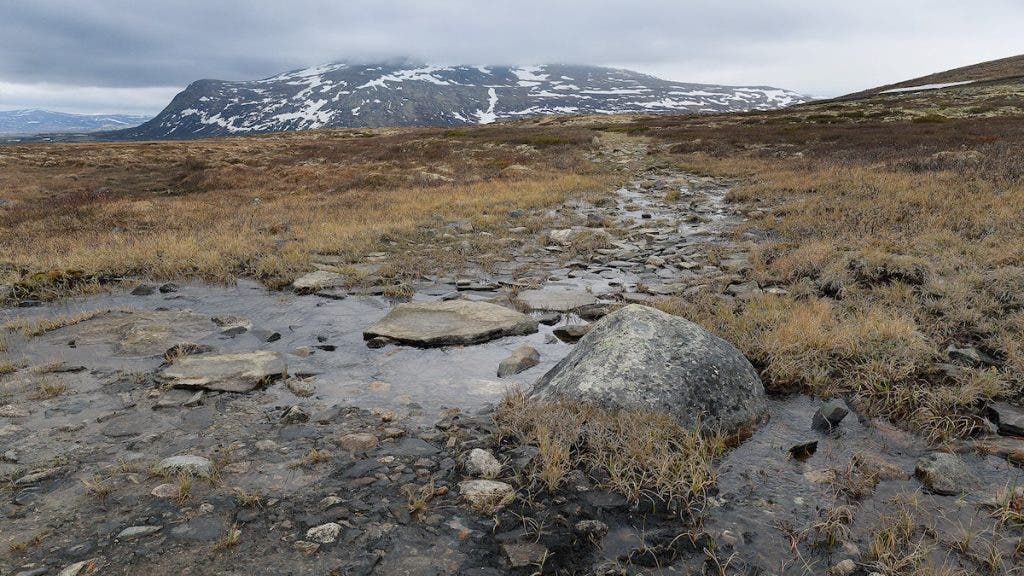
A wildlife photography expedition sounds exciting (and it is!), but it starts with a bit of a geography lesson. You need to know the conditions very well and pack accordingly. A photography expedition in Norway would be quite different than one in Tenerife.
Researching Terrain, Regulations, and Wildlife
Check out the terrain, water sources, and weather conditions. Research whether you can use the campsites and whether, like in Norway, you have the right to roam, meaning that you are allowed to camp anywhere except close to houses. Also check what permits you need and whether you are allowed to start an open fire. See if you need physical maps and a compass or a satellite GPS and phone. Last but not least, learn about wildlife behavior, where and when you have more chances of an encounter, and how close you can get safely for both sides.
Calculating Carrying Capacity and Target Pack Weight
The next lesson is in mathematics: determining how much weight you can physically carry. For comparison, I’m 170 cm and weigh around 80 kg. I consider myself to be a little below average fit. And I haven’t trained for this particular expedition other than taking the stairs a little more often in the last couple of months. My expedition starts with 1½ hours of steep uphill trekking to the plateau I chose as the tent site. Based on all these factors, I decided I can carry approximately 25% of my weight, resulting in a total of 18-20 kg in the bag. In hindsight, that was maybe a little too much for my knees and back.
Anyway, that includes everything, from photography gear to food and water, from my phone to extra clothes.
I also estimated that I would walk around 14-20 km daily, either with the full load on days when I changed camp or with a reduced load of gear, snacks, and water on the days I had the camp set up. The reduced load came to around 8-10 kg, which is 10% of my weight, the amount recommended by experts for long walks, such as the Camino de Santiago. I think I’m good.
Choosing the Right Backpack for the Expedition
Once I knew my load and effort, I turned my attention to my backpack options. Oftentimes, packing for an expedition starts with selecting the most appropriate bag.
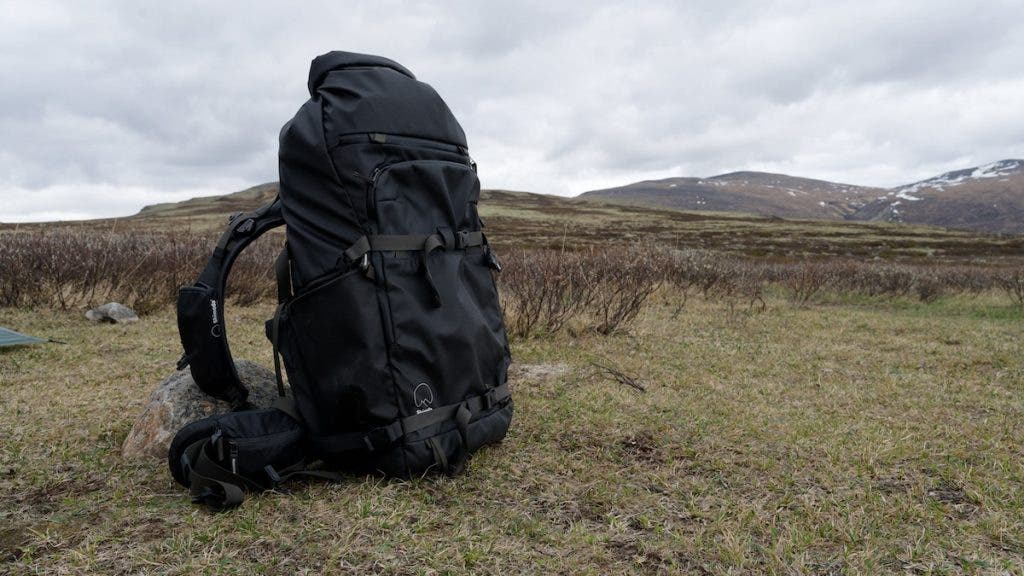
I needed a versatile backpack with a large enough capacity for the full load but adjustable and compactable so the reduced load stayed put. Also, I needed a backpack that could keep my precious photography gear safe and had plenty of pockets for the things I wanted to keep at hand, such as extra batteries, water, and snacks. After some research, I chose the Shimoda X70 HD, a 70L heavy-duty backpack with a roll-down top, height-adjustable shoulder straps, insert options for photography gear, and pockets on the shoulder straps and on the waist strap.
Hacks to Save Weight Without Leaving Any Photography Gear Behind
Once I had my data, I moved on to the next challenge: ensuring I don’t pack more than I could carry. Of course, all my hacks to save weight refer to anything other than photography gear because I don’t want to compromise the photography side. But I have a couple of good tips for you. The first is to lay out what you would normally take with you and then put away the items you don’t need. Those “good to have” but not necessary ones. Then, take advantage of the gifts of the earth and of technology. Let me explain.
Filtering Water on the Trail
Let’s start with water, which, as any hiker knows, is the heaviest thing you carry. If you plan to carry all the water you’ll need on a multiday trek, you’ll end up carrying only water. What I do is use a LifeStraw Peak Series Solo or a similar model to get water on the go from any flowing water source. You don’t have to carry all your water if there are streams in the area.
Smart Multi-Use Gear and Clothing Hacks
Next, I analyze what multi-purpose gear I can bring to save weight. For instance, I use a Nalgene bottle as a drinking bottle during the day and as a heating bottle during the night. I wrap a couple of socks around it to keep the warmth for as long as possible.
Also, for a good night’s sleep, I craft a sleeping pillow from a woolen sweater and my down jacket, which I stuff into a T-shirt. As I bring the clothes anyway, it makes sense to use them and leave the pillow at home.
Cutting Weight with Trekking-Pole Tents
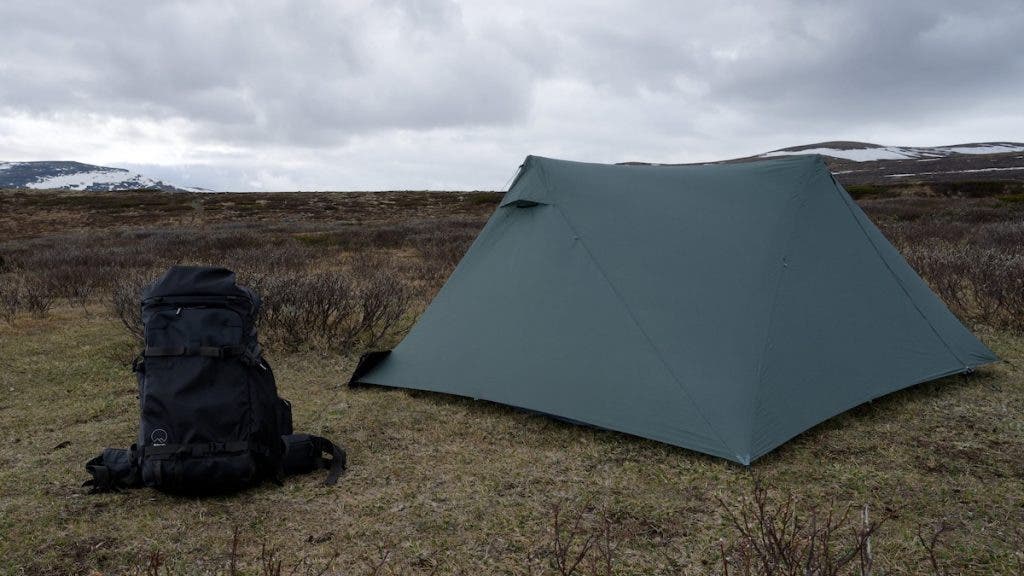
I recently learned that some ultralight tents use regular trekking poles instead of specific tent poles, which saves you a lot of weight. So, I got myself the X-Mid 2 Solid, which weighs only 1,065 grams.
Using Your Camera Bag as a Stabilizer
The Shimoda X70 HD has two large side pockets perfect for tripods, but when I’m after saving weight, I prefer to use the bag itself as a tripod. It’s stable on any terrain and offers three easily adjustable heights: standing tall (highest), standing on its side (medium), and lying on the front or back (lowest).
For the Shimoda X70 HD, there are two ways to access the insert that stores the camera: from the top and from the back. So I may want to lay the backpack on its front more often than on its back. Consider your own bag’s characteristics before using it as a tripod in this way.
Final Packing List
At this point, I’m done with weight control, and I know for sure that all my gear is within the maximum 20 kg load. It’s time to write down the packing list, so I can use it for the final check before leaving home. Here it is:
Gear: My Number 1 Priority
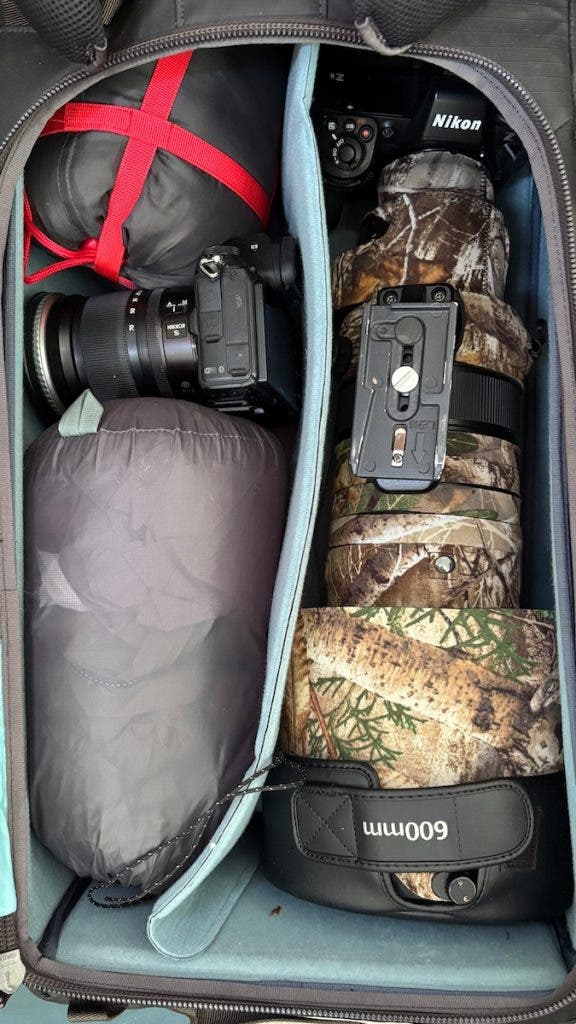
- Camera: Nikon Z8 and Nikon Z6II
- Lenses: Nikon Z 600mm f/4 TC and Nikon Z 24-70 mm f/4, Nikon Z 20mm f/1.8.
I use the 24-70mm lens for landscape photography and vlogging. - Accessories: extra batteries, high-capacity power banks, extra memory cards, filters, a rain hood for the camera and lens, solar panels for off-grid charging, and one lightweight tripod.
Camping Equipment
- Tent: X-Mid 2 Solid + trekking poles used as tent poles as well
- Comfort: foam pad, ground sheet, and sleeping pad
- Cooking: Jet boiler and a gas canister
What I Need to Survive
- Water: LifeStraw Peak Series Solo and 650ml Nalgene drinking bottle
- Food and snacks: Dry food for the entire duration, organic protein bars
- Clothes: Woolen sweater, down jacket, one extra T-shirt, and rain clothes. I only bring one spare of everything, so I have something to jump into in case I get soaked.
- Technology: phone (I wanted to stay off-grid as much as possible, while still having a lifeline to the normal world).
The “Off-Grid” Wildlife Workflow
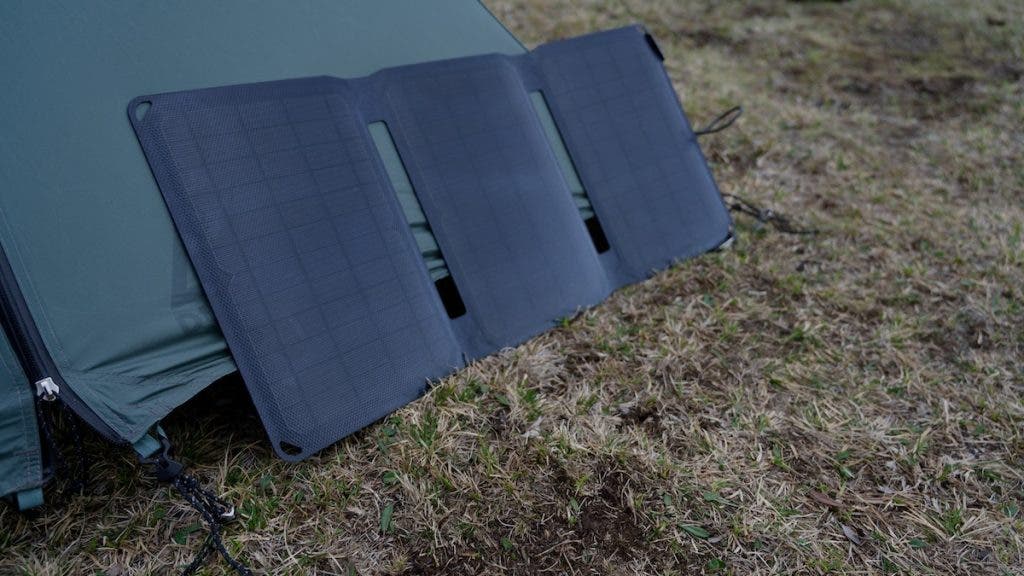
For a multiday trek and wildlife photography expedition, you need power. Extra batteries and high-capacity power banks can keep my mirrorless camera bodies working for a while. However, when you are in the wilderness for multiple days, and the weather is cold, you will need a bit of extra power. I find solar panels the perfect way to stay powered up in the wild. As a rule, I want to have enough batteries to resist a day without sun. I use the power banks to charge the batteries overnight and the solar panels to charge the power banks during the day.
My “off-grid” wildlife workflow starts early in the morning. If you want to walk for 20km each day, you need to get up early, have a large breakfast and a cup of coffee, hunt for dry clothes, set up the solar panels, and pack for the road. On return, I check up my gear, recharge batteries, and prepare and eat my dinner. No admin work or uploading photos. I have brought extra memory cards, so I can spend more time enjoying and resting.
The last thing I do before going to bed is transform the Nalgene bottle into a heating device by filling it with hot water and putting it inside a pair of warm socks. Dropping this into your sleeping bag will give you 4-5 hours of extra heating.
Final Thoughts
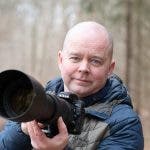
I am a nature and wildlife photographer based in Denmark, and most of my expeditions are in Scandinavia. Geography has a big impact on how I pack for a multi-day trek for wildlife photography. The distances are long, and the weather is cold and wet. I need to stay warm, manage power, and keep my gear dry. However, your expeditions may be different.
You may need to protect yourself more from the sun than from the cold. You may need to keep your gear away from dust rather than from water. Adapt your workflow and packing list to the conditions you expect, ensuring you can sustain a creative, productive photo session. There are no good wildlife photographs when you are exhausted, and your camera is dead on power.