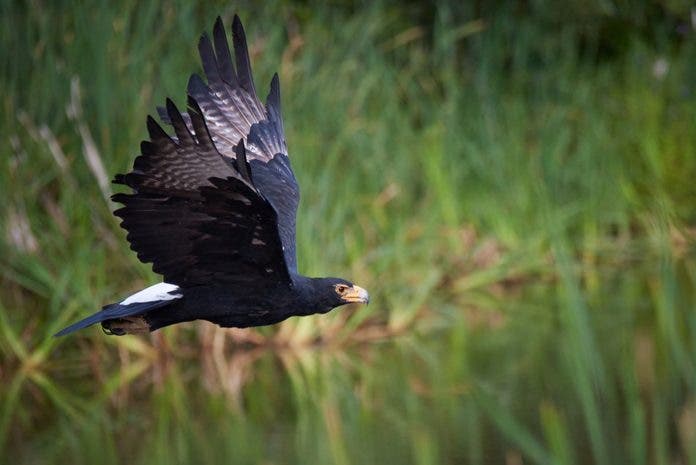
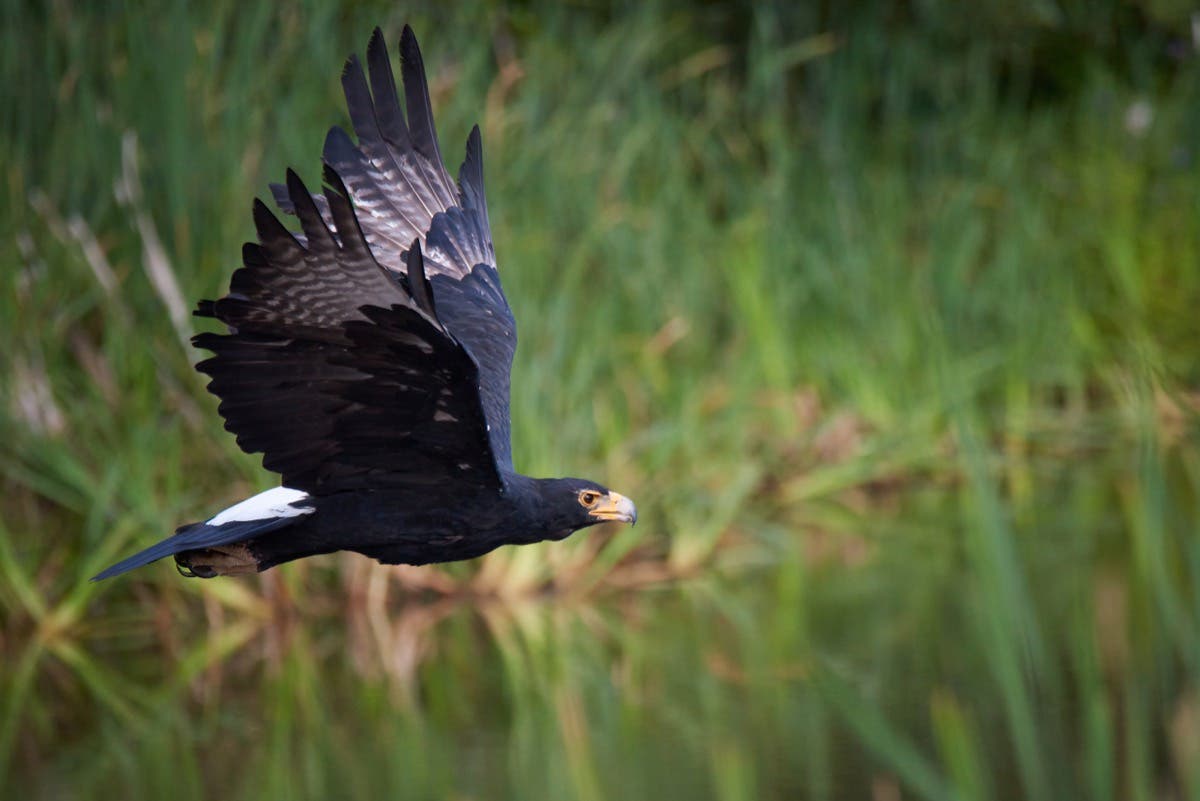
Shooting in low-light conditions is one of the major challenges of wildlife photography. You rely exclusively on natural light, shoot from a distance, and try to capture moving subjects. You want to get the composition right, focus on the subject’s best feature, and imbue your work with storytelling, all in the smooth, atmospheric light of dusk or dawn. Yet there are a couple of solutions to the lack of light: increasing the ISO to make the sensor more sensitive to light or slowing the shutter speed to increase the exposure time and let in more light, which can cause motion blur.
Unfortunately, both solutions have drawbacks, and balancing between them is always on my mind. As a wildlife photographer, I put most of my efforts into getting this right in the field. In a close second place in difficulty is focusing, but that’s another story. For now, let’s see what you can do to balance shutter speed and ISO so you can go home with beautiful wildlife photographs.
What Can Go Wrong with ISO and Shutter Speed Settings
Increasing ISO tells the camera to amplify the sensor’s signal, making it more sensitive to light. As a result, photographs become brighter at the same shutter speed and aperture settings. So far, great! However, the more sensitive the sensor is to light, the more likely it is to record pixels that are either too dark, too bright, or have a really strange color, aka noise. Noise looks grainy, like little colored speckles spread across the image. While some ISO noise can be removed in post-processing, if there is too much, nothing can save your image.
Shutter speed refers to how long the camera’s shutter stays open to let in light. The longer the shutter stays open, the more light gets in and the brighter your photo becomes. However, if the subject moves while the shutter is open and the camera is recording the image, you will end up with an unclear photograph, an effect called motion blur. In extremis, your subject will look like a ghost passing through the frame. No editing software can deal with too much of this either.
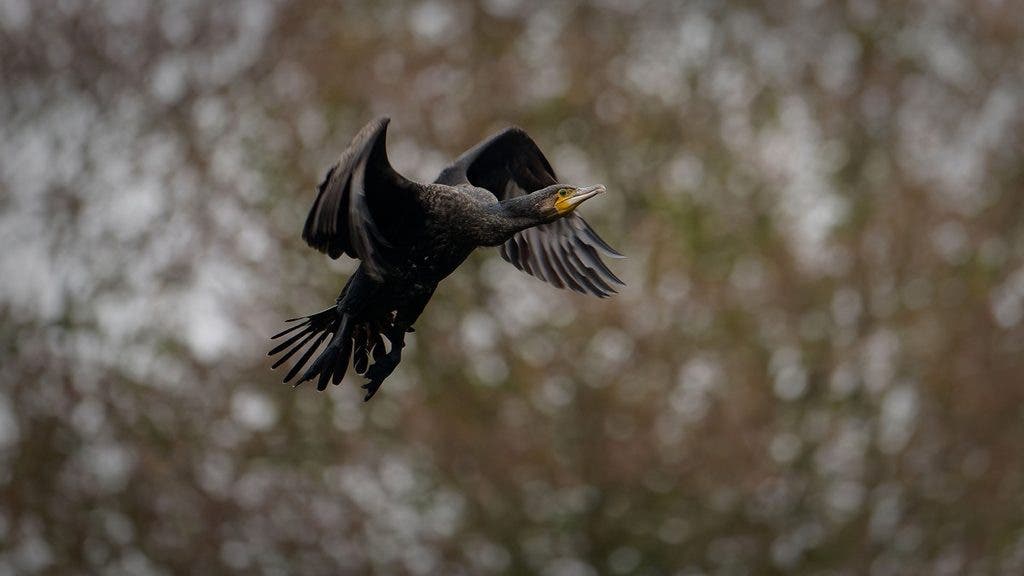
Putting Things in Perspective
Many photographers either avoid shooting at a high ISO and go home with blurry shots or shoot at a high ISO without considering all the factors and go home with noisy shots. The problem is that you don’t have a fixed value, standard, or rule to follow. ISO and shutter speed settings depend on the available amount of light, camera-subject distance, number of pixels the sensor has, how much the subject moves, camera performance in low light, and so on.
To give you a visual perspective on what happens when these parameters vary, I shot a few series of photos as examples. All photos are taken with a Nikon Z 400mm f4.5 lens, are RAW files, and haven’t been altered or processed in any way. For many of them, I relied on the help of my trusted teddy bear, Peter Pandi, who, although he doesn’t move, is a very good model for what I want to illustrate.
Solution #1: Keep Shutter Speed Fast, Increase ISO
Now, let’s see what we can do by increasing the ISO value and how far we can go with it. Let’s keep in mind that when you shoot at a longer focal length, you will probably need to use a faster shutter speed, which means that you have to increase the ISO more than when shooting at a shorter focal length. This increases your chances of getting noisy images. But, as you can’t change your camera or lens in the field, let’s focus on what you can control. And that’s the camera-subject distance.
Comparing Noise Levels and ISO Values at the Same Camera-Subject Distance
For my first experiment, I set up the camera at 6 meters from Peter Pandi, varying the ISO from 200 to 12,000.
As you can see from the video below, the results are surprisingly good. The quality is reasonable even at ISO 12,000. Of course, there is an undeniable decrease in image quality that should make us try to shoot with as low an ISO as possible. But overall, with the camera I have, I’m comfortable with ISO 6,400 or even a little higher when shooting from 6 meters.

Comparing Noise Levels and Camera-Subject Distances at the Same ISO Value
For my second experiment, I set up the camera at ISO 6,400. I kept the aperture and shutter speed settings throughout the experiment. The only thing that varies from one image to another is the camera-subject distance. I started with the camera at 4 meters from Peter Pandi and ended with it at 30 meters. Once I had all the photos, I cropped them to have Peter Pandi roughly the same size in all of them.
The results speak for themselves. The images get ugly pretty fast. The noise is noticeable from 7 meters, and from 16 meters on, the image quality becomes quite bad. This much noise cannot be saved in post-processing. At high ISO values, cropping is not a good idea either. Keep it to a minimum. This means getting a focal length that matches what the subject calls for or using camouflage to get close enough without the subject running away.

Solution #2: Keep ISO Low, Slow Down Shutter Speed
Let’s start with how low you can go with shutter speed before motion blur ruins the photo. There are three factors to consider when speaking about motion blur: shutter speed, how fast the subject moves, and camera-subject distance. Of course, slow shutter speeds and fast-moving subjects increase your chances of motion blur. At shorter distances, objects seem to be moving faster to the camera, and thus, you need a faster shutter speed to freeze motion than you need at longer camera-subject distances.
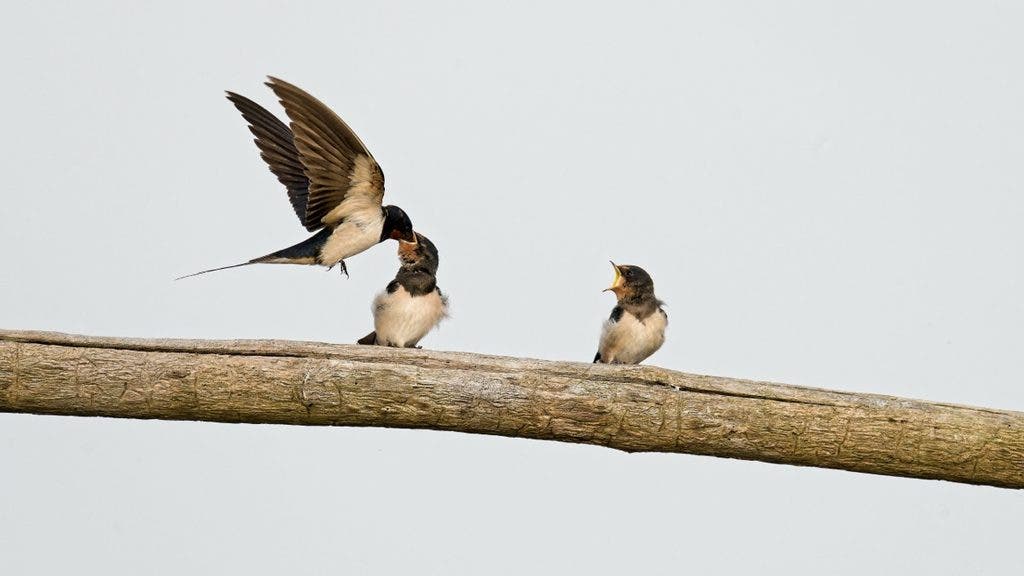
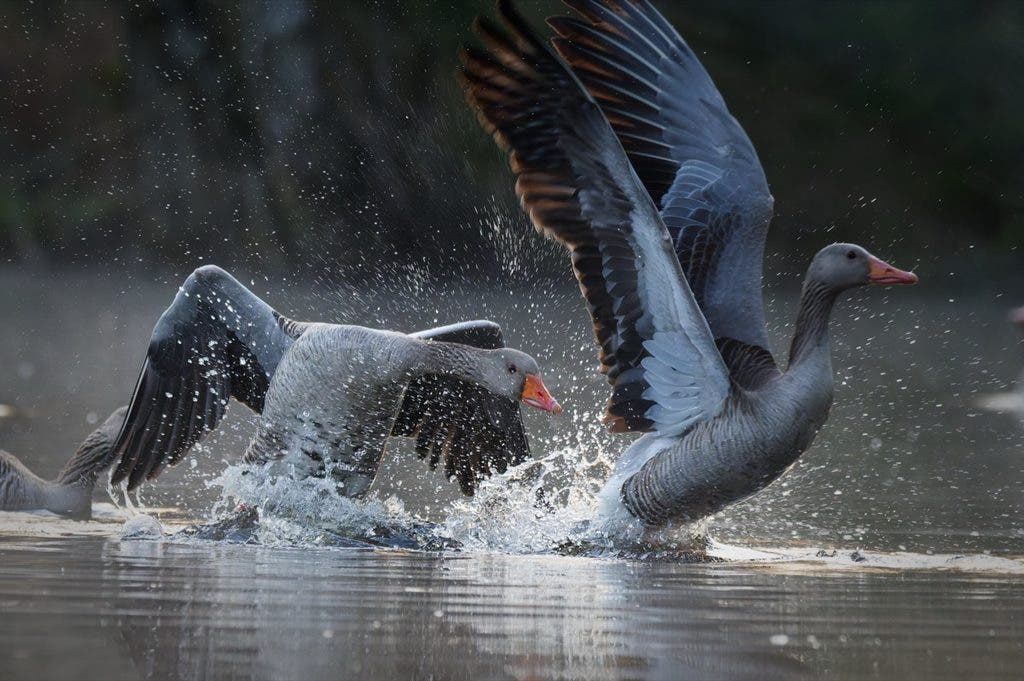
In practice, what you can do is take some safe shots with a high shutter speed, and therefore also a high ISO. Then gradually use a slower shutter speed and watch the ISO crawl down as well, giving you better quality images. Don’t forget to adjust shutter speed settings based on how fast your subject moves. For example, to capture two geese fighting, a shutter speed of 1/640s was too slow, and motion blur is noticeable.
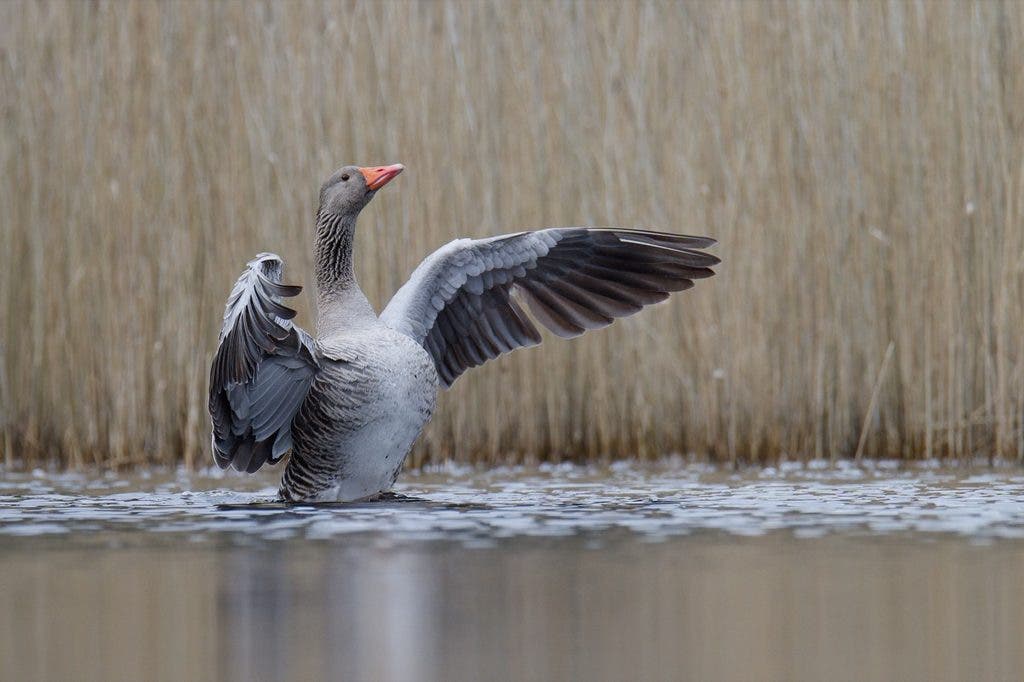
However, for a goose basking in its wings, at a distance, the slowest part of the wing flap, a shutter speed of 1/1000s was enough.
A Bit of Advice on High ISO and Motion Blur
I want to leave you with something as close to a decision checklist as possible, because I know you don’t have a lot of time in the field for making decisions. You need to be efficient and focused on storytelling rather than fiddling with the camera. You’ll have neither the time nor the very patient model to take a series of photos with various settings or from various distances and then make an informed decision. So, here is my advice:
- Estimate the camera-subject distance – If you are close to your subject (e.g., under 10 meters), motion blur will be accentuated, while high ISO values will be more forgiving in terms of noise. Shutter speed is more important. If you are far away from your subject (e.g., more than 10 – 15 meters), chances of getting motion blur decrease, while chances of getting noise at high ISO values increase. Sacrifice a bit of shutter speed to gain a better ISO level, but take some safe shots first.)
- Pay attention to your subject’s movements – If the subject is in full action, you have no option but to use a fast shutter speed and increase the ISO. However, if it is more or less stationary and you have the camera stabilized, you can keep a lower ISO and slow down the shutter without risking motion blur.
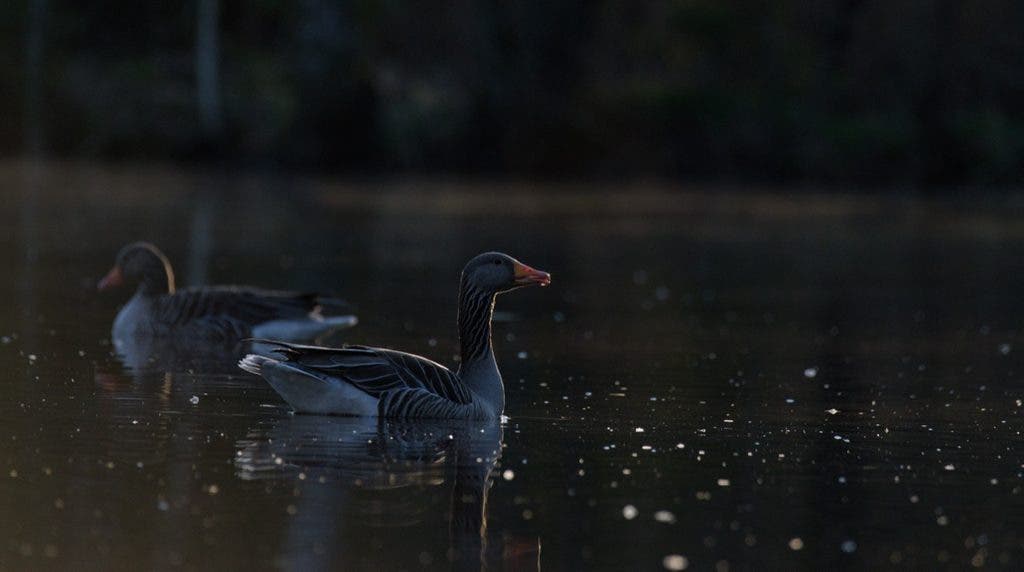
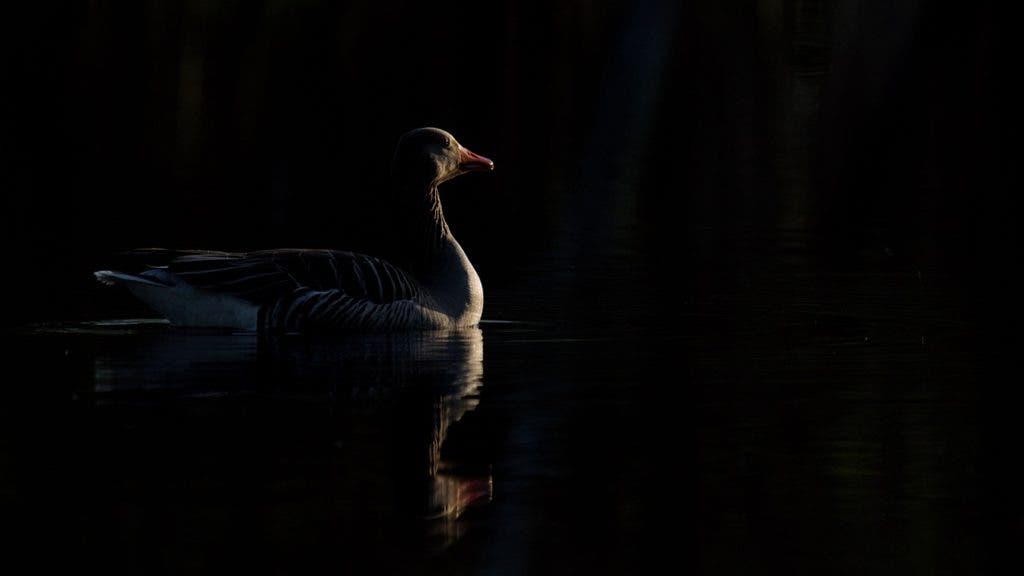
- Try backlit for dramatic shots. That gives you extra flexibility in exposure. If you can’t get the action shot due to shutter speed / ISO limitations, try shooting backlit using a dark background, while underexposing 1 or 2 stops. This allows you to shoot either at a lower ISO or using a faster shutter speed, while getting dramatic photos.
Get to Know Your Gear
Some camera models feature an ISO range that they can’t sustain in practice. If, regardless of how close or far away you are from your subject, your camera simply cannot cope with an ISO 12,000 or even less without adding a tremendous amount of noise, keep the ISO at a safe value and find other ways to improve your work in low light conditions. On the other hand, if your gear doesn’t have built-in image stabilization or you shoot handheld with a super telephoto lens, you are more prone to motion blur. Keep the shutter speed fast and increase the ISO.
Final Thoughts
I completely understand the constant fear of getting home with shots that either have too much ISO noise or too much motion blur. If it can’t be saved, there is nothing you can do with them other than delete them forever. At the same time, balancing shutter speed and ISO when photographing wildlife is a matter of practice to the point it becomes second nature, and you evaluate all the factors automatically. Ensure you know your gear’s limitations, understand your subject’s behavior, and prepare your photo session in detail (e.g., location scouting, lighting, time of day, possible camouflage, etc.). All of these will help you get in the right mindset and make good decisions.